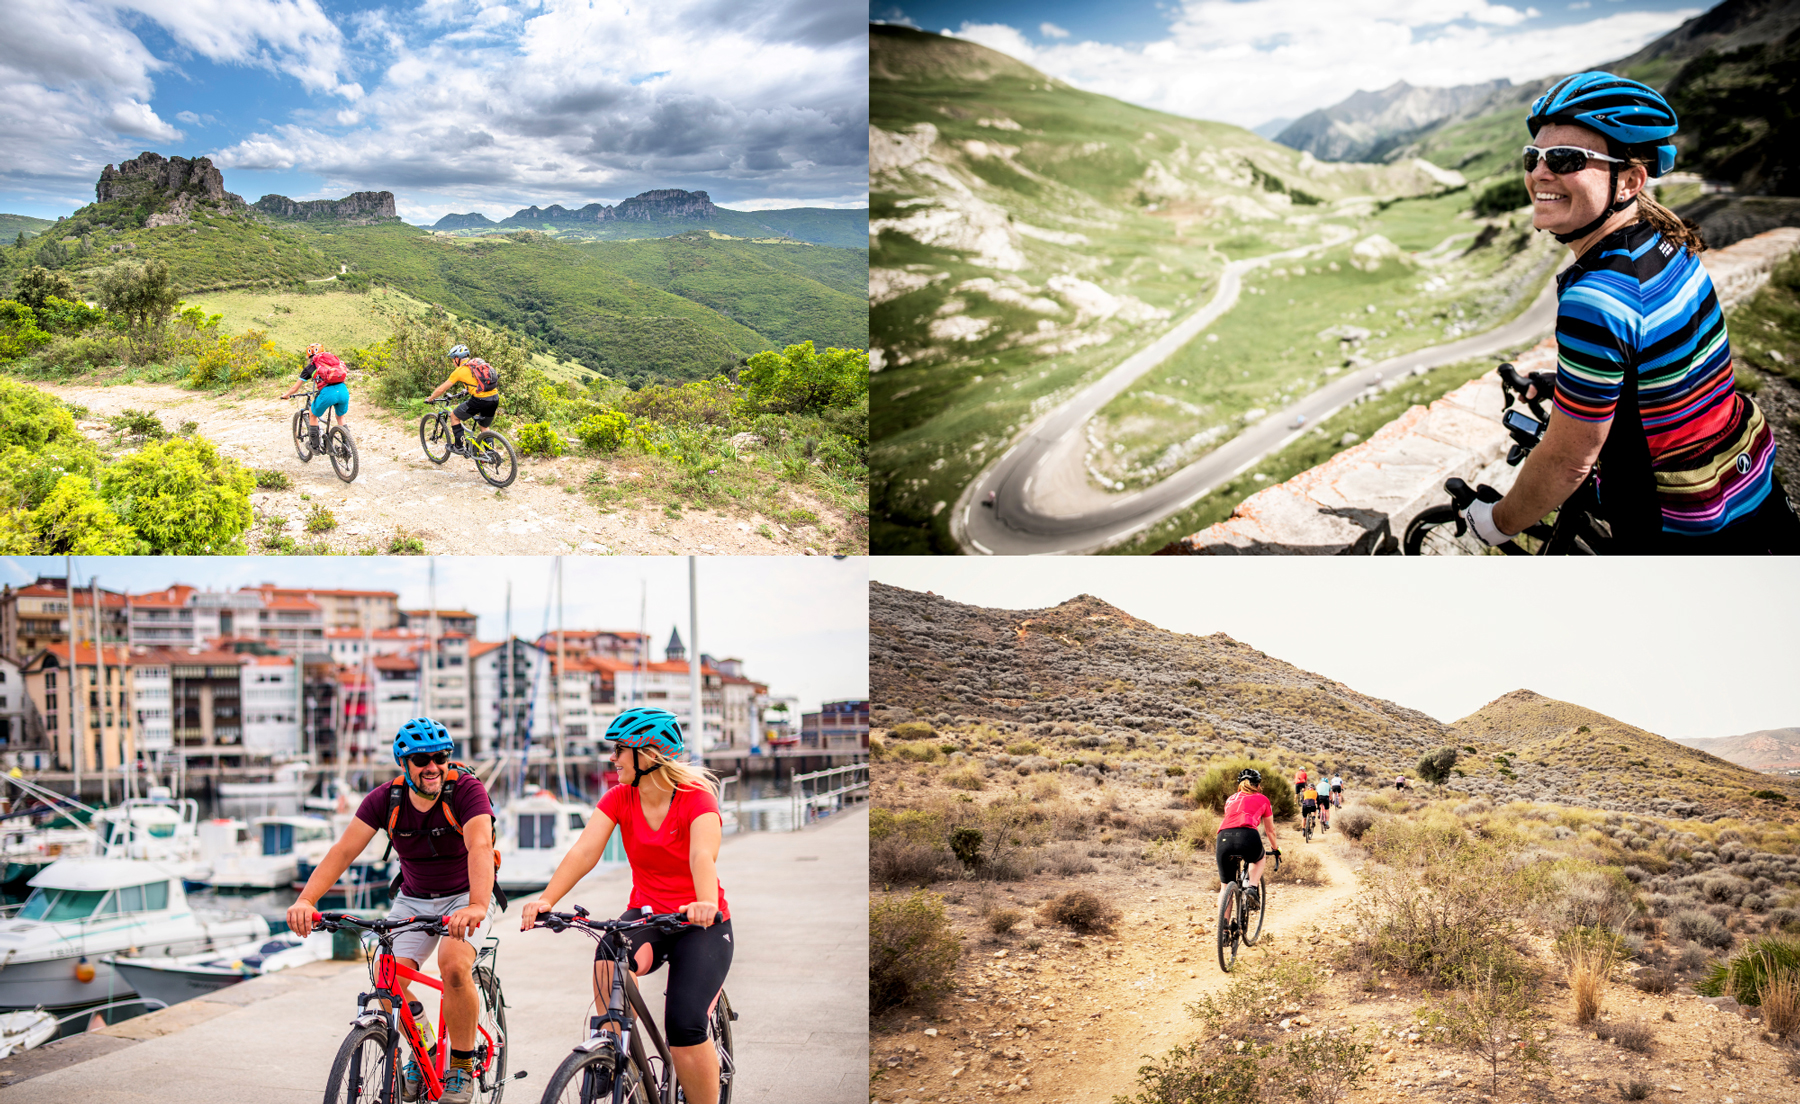
How do we grade our tours?
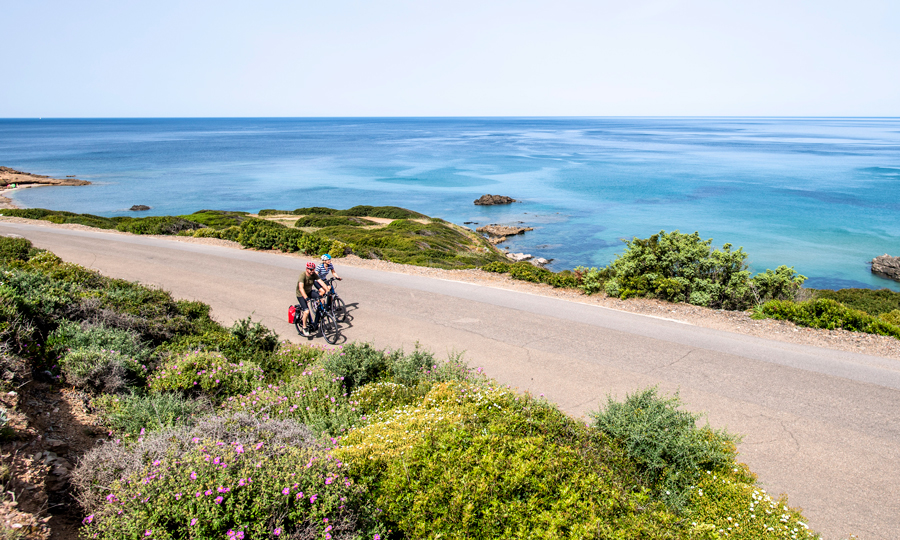

Every one of our cycling tours is carefully graded by our team of experts. There are several things we consider, such as:
- The daily distances
- How hilly (or not) each day of riding is
- The nature of the terrain you’ll be exploring
- Tour or destination specific features that may increase the difficulty of the ride, such as altitude, heat etc.
Choosing the right grade of the tour is important, but it’s not the only factor. Find out more tips from our expert team on How To Plan A Cycling Tour here.
How To Choose The Right Grade For Your Cycling Tour
1. Choose your cycling type
Each category of cycling has its own specific grading system, so we can accurately let you know how one tour stacks up against another. It’s important to be aware that the grades don’t compare across different cycling types, for example, a grade 3 leisure cycling tour is not equivalent to a grade 3 road cycling tour. If you like to dabble across different types of cycling, then be sure to check the grade information for each tour carefully.
You can find more detailed information about each of our grades here:
2. Check the terrain information, tour itinerary and route profile
Alongside the grades, each tour has its own set of Trip Notes, which includes a Terrain section, and further information on the riding itself. You’ll also find information about the terrain for each tour on the website page.
Check the tour itinerary for details about the daily distances and amount of climbing each day. On many of our tours, to further help you visualise each day you can view the route profile which shows the distance and elevation. You can also click to view the gradients of the climbs and descents. Using both graphs together will help you get a fuller picture of how flat, bumpy or steep the climbing on your particular tour is going to be. Always check the scale of each graph as it can change from day to day and keep in mind that these numbers are approximate.
SEE EXAMPLE OF THE ROUTE PROFILE
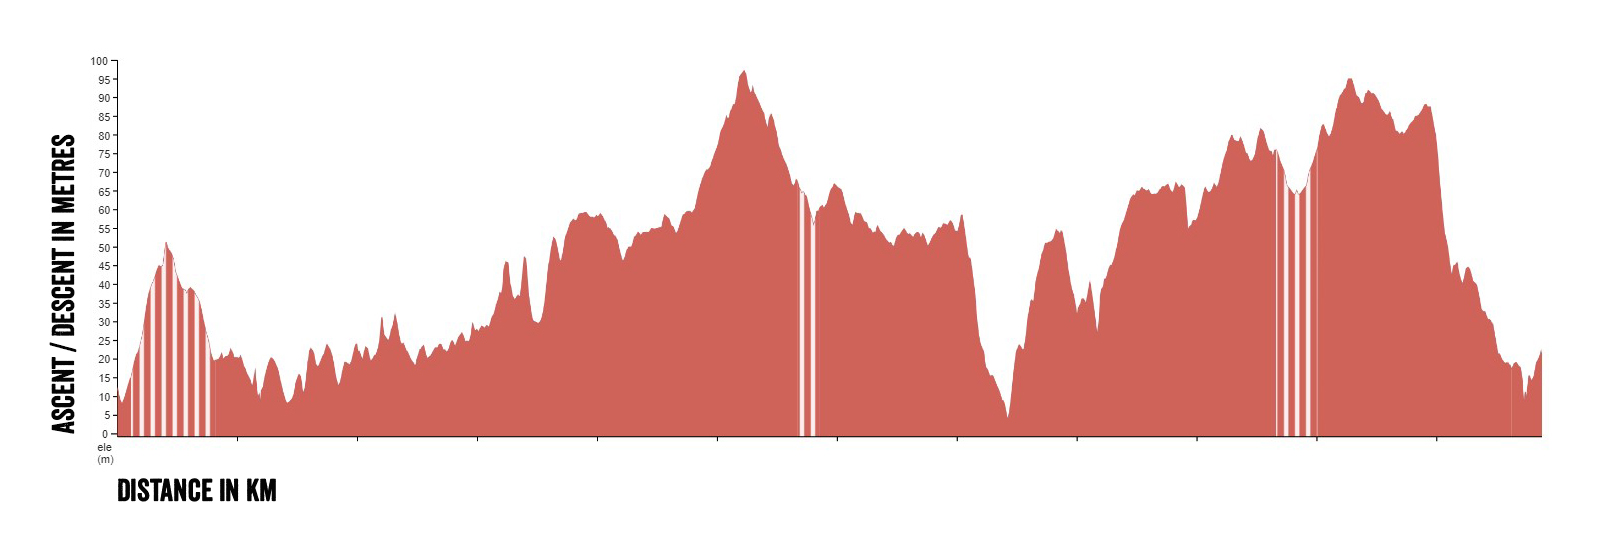
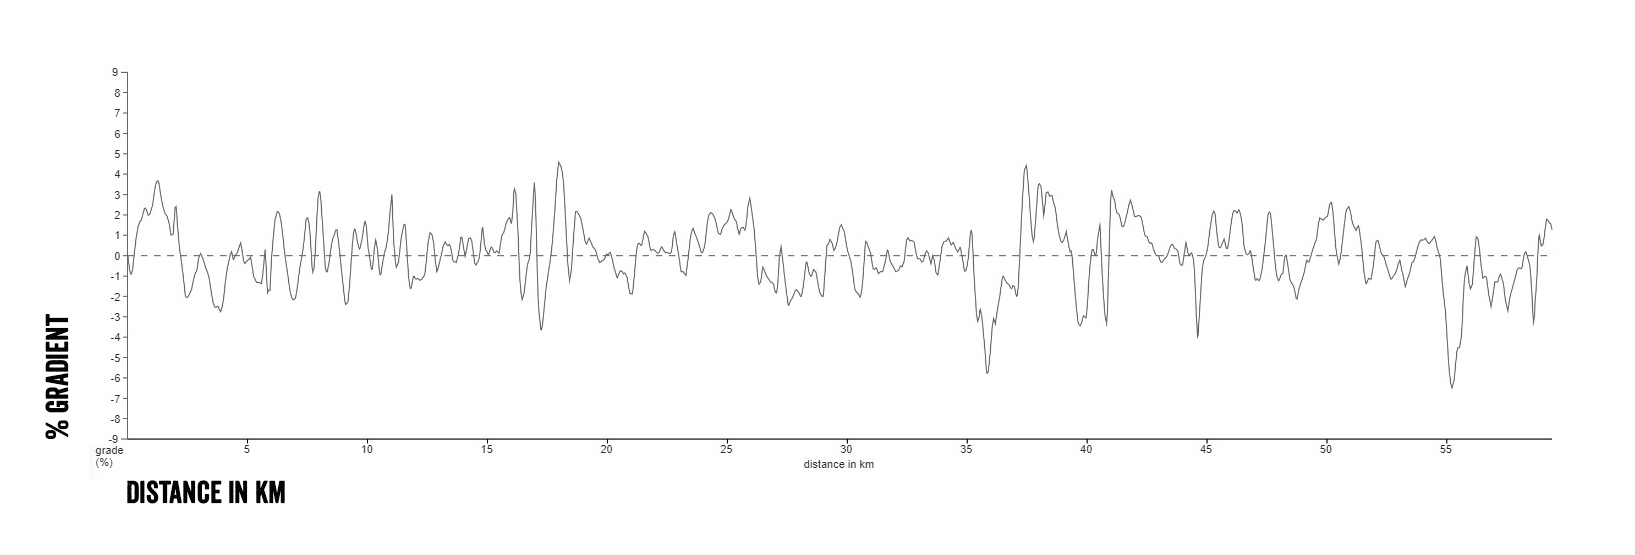
Additionally, you may see some white vertical lines throughout some of the profiles, indicating unpaved sections over slightly rougher terrain. Paved surfaces include asphalt, concrete, and chip seal, unpaved surfaces include gravel, dirt, and natural trails.
All of this information combined gives a pretty good insight into what to expect, so that you can enjoy the ride. If you have any questions about the terrain and graphs, please give our friendly team a call and they’ll be happy to talk you through the information.
3. Helpful tips
If you’re still feeling unsure, there are a few helpful things you can consider:

Between grades?
If you’re on the cusp of two grades, then think about whether you’d enjoy pushing your riding a bit further or if you would prefer to keep things on the easier side. Remember, you’ll be riding for consecutive days, and it is a tour after all! You’ll also find that some of our tours are between grades, for example, grade 3/4, means the tour has aspects of both a grade 3 and grade 4 tour.
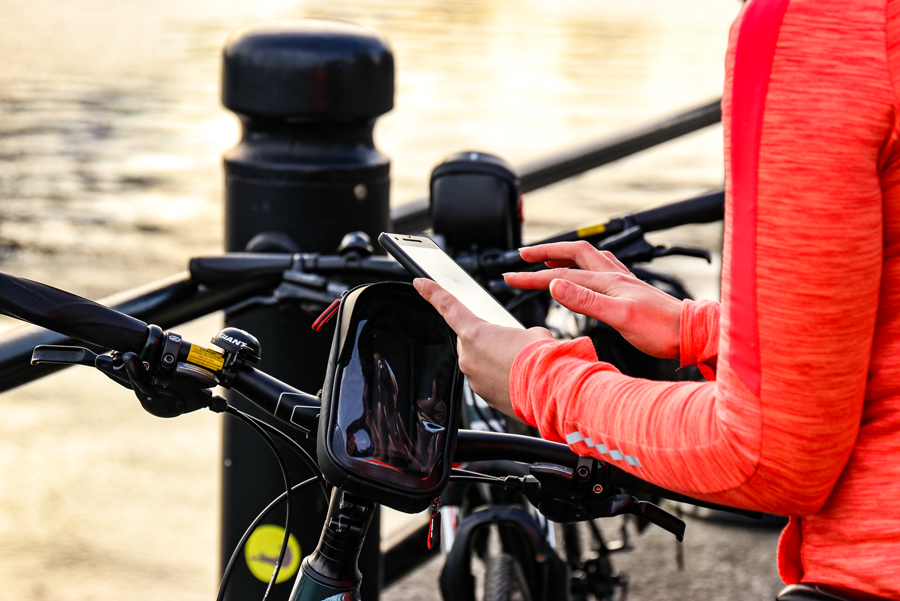
Record some rides
This can be helpful to check your average time and distances. Record several rides and compare them with the grade descriptions, looking at the distance and elevation. Make sure you check the daily distances and elevation under the tour itinerary for an accurate picture of what to expect, as the information in the grade section is indicative and generic across a range of tours.
How do your regular rides compare?
When you’re on tour, your riding will be spread out over the course of the day with café and lunch stops along the way. There’s more time for riding so you might find that you can cover slightly longer distances than you would normally ride. The number of cheeky climbs or any technical sections might have more of an impact though! Keep in mind that you’ll be riding on consecutive days too. In the run up to your tour, it’s a good idea to practice riding for a few days in a row, even if just short rides.

Ask for advice
If you regularly ride with others, then ask them for some honest feedback! Speak to our team in the office because often they can share some first-hand experience. If you’ve done a trip with Skedaddle before then we’ll be able to help you compare between tours.
What if I’m riding an e-bike?
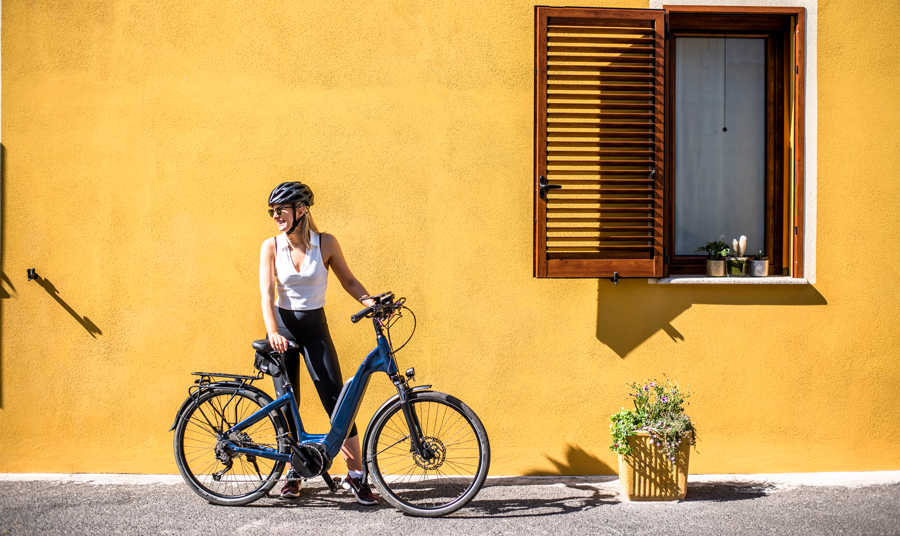

E-bikes are brilliant for taking the pinch out of some of those cheeky climbs! You might find that you can ride slightly further too. That said, we don’t lower a tour’s grade just because you’re on an e-bike. There are lots of factors to consider like bike handling skills and manoeuvring a heavier bike. If you’re bringing or hiring an e-bike on one of our trips, then make sure you check up on our quick guide to e-bikes on Skedaddle tours. Again, you can always chat to our friendly team about how an e-bike might affect the experience of your chosen tour.
Have a question?
Check out our page of Frequently Asked Questions or contact our friendly team for help! And why not explore our full range of cycling tours and all the incredible destinations you can go to.
.png)


