Heading on holiday and don’t want to leave your bike at home? Don’t be put off by the expensive price airlines attach to flying with your bike! Mark Bunce from online courier service Parcelhero tells us a little more about how easy it is to get your bike abroad! Here’s his step to step guide on how to pack your bike for transport:
Packaging a bike doesn’t need to be as daunting as it first appears. Whether you are upgrading or selling, going on a cycling holiday or lending to a friend for their mountain adventure, understanding how to ship your bike via courier service is essential. Especially as it is now very expensive to take your bike on a plane with you. Couriering is a safe and cost-effective way of ensuring your bike arrives anywhere in the world, as shiny and perfectly formed as you first sent it.
A good workman needs tools, so here are yours:
- A good strong triple-ply box
- Packaging materials such as bubble wrap and polystyrene parcel chips.
- Foam tubing
- Some strong parcel tape
- A 15mm pedal spanner or 8mm Allen key
- A selection of good quality Allen keys (4mm and 5mm most commonly needed sizes)
Finding a Strong Box
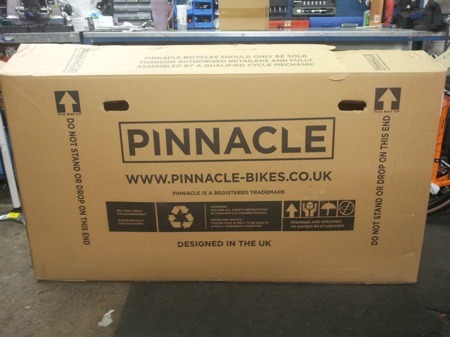 An obvious starting point for packaging your bike is finding the right box. The real key here is acquiring one that is not too big so as to rack-up expensive shipping fees, yet not too small as to miss-out on space for essential packaging materials. The best place to start your search is at your local cycle shop who will most likely have purpose-built spare boxes for transporting your bike. If this doesn’t work out for you, then there are plenty of options online for dedicated bicycle boxes, for less than £15.
Packaging Materials
 The original packaging materials used to deliver a brand new bike would now be best suited for transporting it. If, like most of us, you simply threw it all away, then parcel chips, foam tubes, bubble wrap and newspaper are the best supplements. Fabric combined with the newspaper will prevent the bike from getting scratched during transit. Particularly important of course if you are selling it.
Preparation
 First, clear some room for a workspace. You will need to take varied bits and pieces off your bike during the process so ensuring you do not lose any nuts, bolts or screws is essential for putting it back together again when out of the box. Best to use Tupperware and keep it close by.
Accessories
Your accessories are as important as the rest of the bike, so they need to be protected. Take off any bottle holders, light fittings, speedometers and mudguards and wrap them in bubble wrap. Make sure you remove any batteries from your lights as these can lead to transit issues, unless sent in their original packaging.
Remove the Saddle and Post
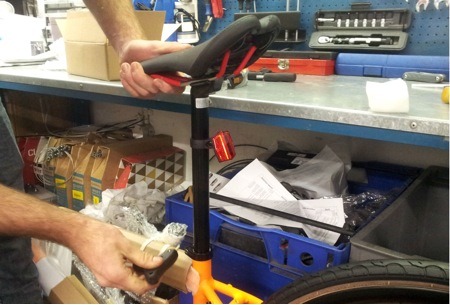 If your bike isn’t as old as the country you are sending it too, removing it should be quick and painless with the quick release bolt. Try marking the post before you remove it so you know exactly where to reset it too. Once removed, apply tape to the collar to protect it during transit.
Take off the Pedals
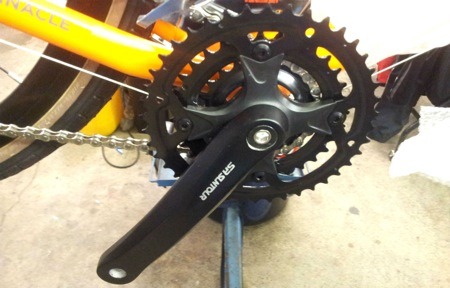
Removing your bike pedals will make it much easier to fit the bike in the box. So, grab your spanner and get ready to take off the pedals. First, however, shift the chain to the smallest ring and the largest rear cog. Now, remove the pedals. Turn the left pedal clockwise and the right pedal counter-clockwise to complete the process.
Remove the Front Wheel

Removing the front wheel is a simple task if you have quick release wheels. Simply undo the bolts and gently slide the wheel through the brake pads and set to one side. Now would be a good idea to let some of the air out of the tyres, especially important if your bike will be travelling oversea via an airplane.
Remove the Handlebar
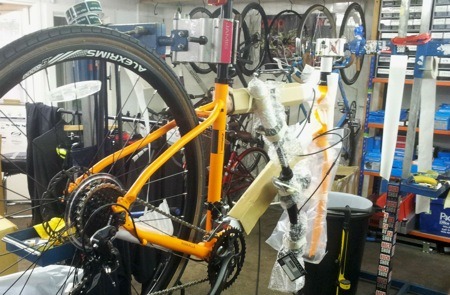 If the box is big enough you may be able to get away with simply turning the handlebars 90degrees after removing the front wheel. It is always best, however, to remove the handlebar if you can to maximise protection of the whole bike. Fortunately, you don’t need to remove the whole unit just the horizontal bar. So, remove the bolts from the handset and detach the bar. The gear cables and brakes need to be kept as they are as you slowly lower the handlebar. Turn it vertically as you slide it down by your front wheel to complete the process.
Before you Start Putting Everything in the Box
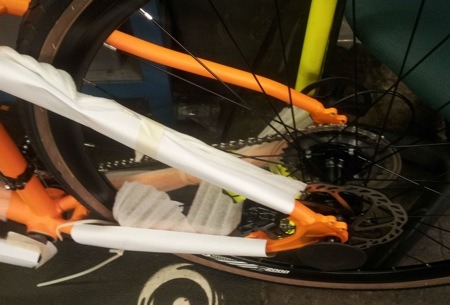 Taking some bubble wrap, securely package your front cog, seat post, forks and any other part of the bike that retains sharp edges so they do not pierce the box or scratch the bike frame. Use foam (or taped up cloth) to protect the frame and the forks, secure them with cable ties. Now, securely attach the handlebar to the frame using cable ties or tape.
Start to Pack your Box
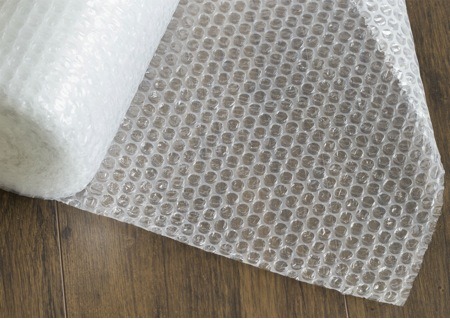 Before packing your box it is best to take this opportunity to strengthen it. Firstly, add tape to all of the joints. Now cushion the bottom of the box by adding a protective layer of material, such as bubble wrap or parcel chips. The box is now ready to receive your bike frame, so go ahead and place it inside.
Slide the front wheel down the side of the box between the frame and box wall. To avoid scratches and dents, add another protective layer of material between the wheel and frame. Now it is simply a case of adding in the remaining accessories and bolts. It’s best to keep the small items like bolts in the Tupperware box.
Pack out the Box
You need to ensure that no part of your bike is touching the walls of the box. To prevent this, use as much protective material as possible and pack out all of the space inside of the box. This should prevent your bike from moving inside of the box and reduce any chances of damage.
Seal your Box
Now we must seal the box with your precious bike securely inside. Using strong parcel tape, simply secure the lid and ensure the tape is firmly stuck down. To be safe, run tape in both directors across the box and joins. Remember that your box will be handled many times during its transit so make sure the joins are secure.
Label your Package Correctly
Make sure you remove any existing labels and cover up any barcodes that may be on the box already. Affix your label and any customs invoices to the box using a document wallet, ensuring that it cannot easily come apart from the parcel. Just in case, place copies of your labels and documents inside the parcel. A good courier service will provide you with labels and customs information.
Now all that’s left to do is book your collection. Thanks to Mark for providing us with these insightful tips, we hope they can be of some help for future cycling holidays! Feeling inspired? We have a great selection of trips which you could put your bike packing skills to the test!

